Manuelles GoTo mit Smartphone (und/oder Kompass und Neigungsmesser):
Manuelles GoTo mit Smartphone (und/oder Kompass und Neigungsmesser):
Sehen Sie auch manchmal das Objekt vor lauter Sternen nicht?
Trotz einer gewissen Erfahrung ist für mich als rein visuellen Beobachter das Auffinden mancher Objekte doch nicht so einfach. Daher dachte ich des öfteren über eine GoTo Montierung nach, was aber für mich als gewichtsoptimierten Beobachter nicht die ideale Lösung darstellt. Der Hinweis bzgl analoger Teilkreise (Danke an Hr.Kloss für die Hilfestellung!) war das Sprungbrett für m.e. die perfekte Lösung für ein manuelles GoTo.
Wie funktioniert das manuelle GoTo?
Die Grundidee ist die einfache Ausrichtung des Tubus auf Zielkoordinaten des gesuchten Objektes. Als Koordinaten bieten sich dazu der Azimut (0-360 Grad) und Altitude (0-90 Grad) an. Der Azimut eines Gestirns ist nur für eine bestimmte Zeit und einen bestimmten Ort der Erdoberfläche gültig.
Was braucht man dazu?
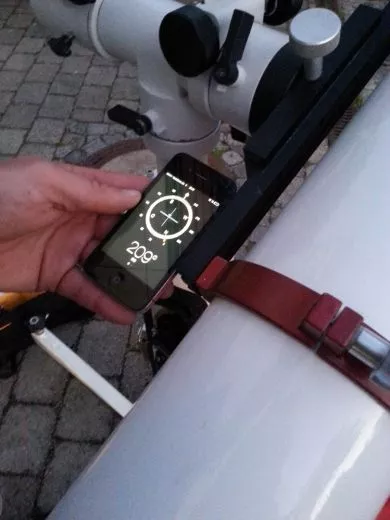
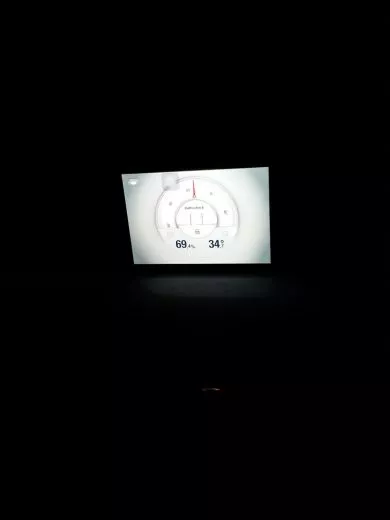
Dazu benötigt man die Angabe des Azimut und Altitude für den gewünschten Standort und Beobachtungszeit. Waren diese spezifischen Informationen in der Vergangenheit nicht auf Knopfdruck „im freien Feld“ verfügbar, so bekommt man diese Infos mittlerweile u.a. aus den Apps Sterne 3d (kostenlos), oder auch StarmapPro (kostenpflichtig). Das ist der entscheidende Schritt. Denn ich kann nicht nur den Sternenhimmel auf den Screen nach entsprechenden Objekten absuchen, sondern finde auch gleich die gewünschten Alt/Az Angaben zu den Objekten. Mit den Apps Kompaß und Neigungsmesser (kostenfrei von Schiefer Tools) ist das justieren ein Kinderspiel.
Was muß ich machen?
Über die o.a. Apps das gewünschte Objekt aussuchen und die Koordinaten ablesen. Danach das Smartphone an den Tubus anlegen und den Tubus ausrichten. Dafür eignen sich u.U. die Prismenschiene, oder auch andere plane Flächen die mit dem Tubus ausgerichtet sind. Erstens in Richtung Azimuth und anschließend Altitude. Mit einem Okular mit großen Gesichtsfeld ist das gewünschte Objekt meist sofort erkennbar. Das war es auch schon.
Ich hoffe es hilft Euch wie es mir geholfen hat –viel Spaß und cs!
Bernhard
Preis:
0,00 EUR
exkl. MwSt. zzgl. Versandkosten

