- Customer group: Guest
-


- Register
- Login
- Your account
- Home
- Details
Products description
Repair of an Avalon Linear
The timing belts on a first-generation Avalon linear mount disintegrated. There was a batch where the timing belt supplier had delivered defective belts, a problem that even Avalon's quality control department hadn't detected.Suddenly, the axis stopped moving and made a strange noise. Upon opening the housing, the damage was visible: almost all the teeth of the timing belt had scattered inside the chamber.
Materials Required
2.5 mm Allen key
3.0 mm Allen key
4.0 mm Allen key
6.0 mm Allen key
2 timing belts 736-MXL-025, width 6.35 mm (profile: MXL | 92 teeth | pitch: 2.032 mm | length: 186.944 mm)
4 timing belts 736-MXL-12 mm, width 12 mm (profile: MXL | 92 teeth | pitch: 2.032 mm | length: 186.944 mm)
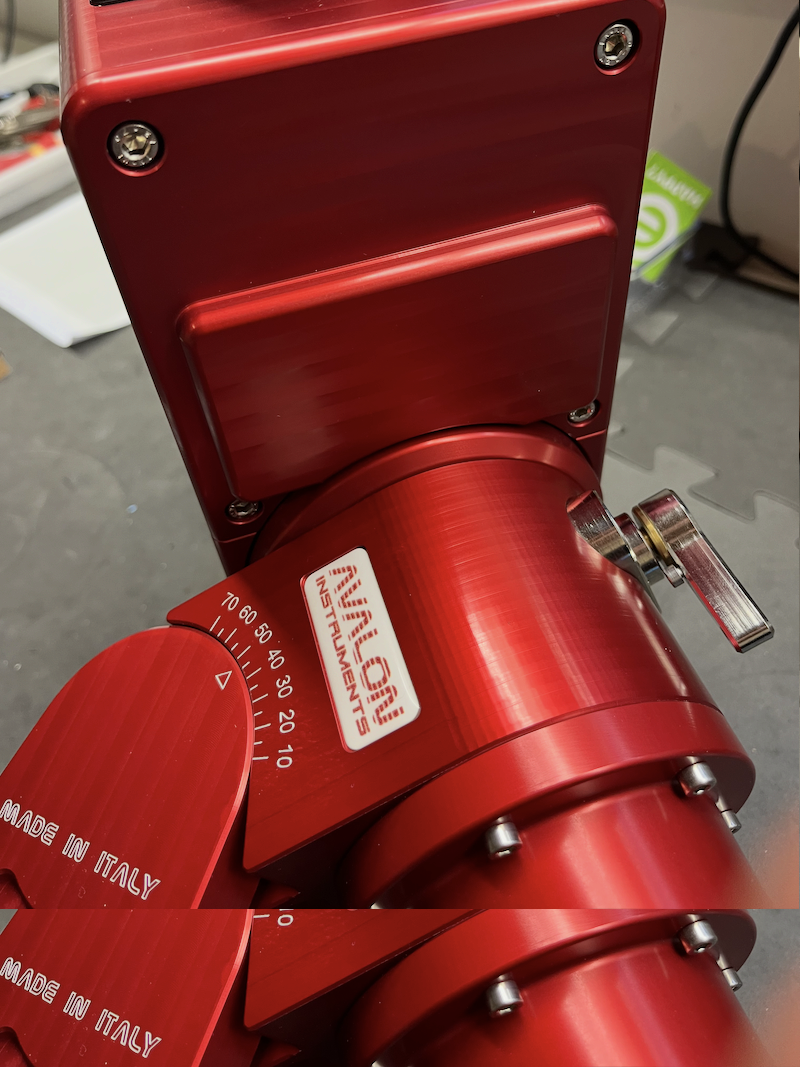
RA axis
Loosen the 4 screws with a #4 Allen key
Then the black plate, which holds the reduction belt pulleys in position, becomes visible. The four screws are loosened with a 2.5 mm Allen key.
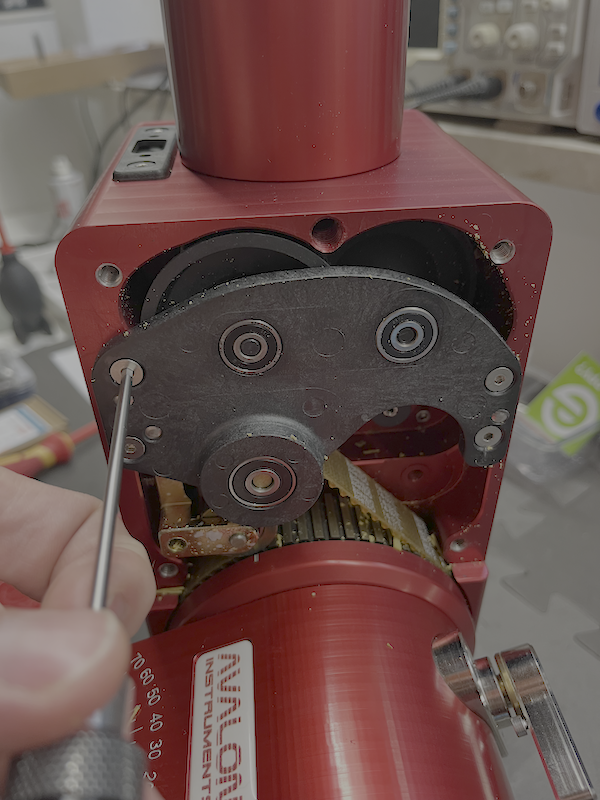
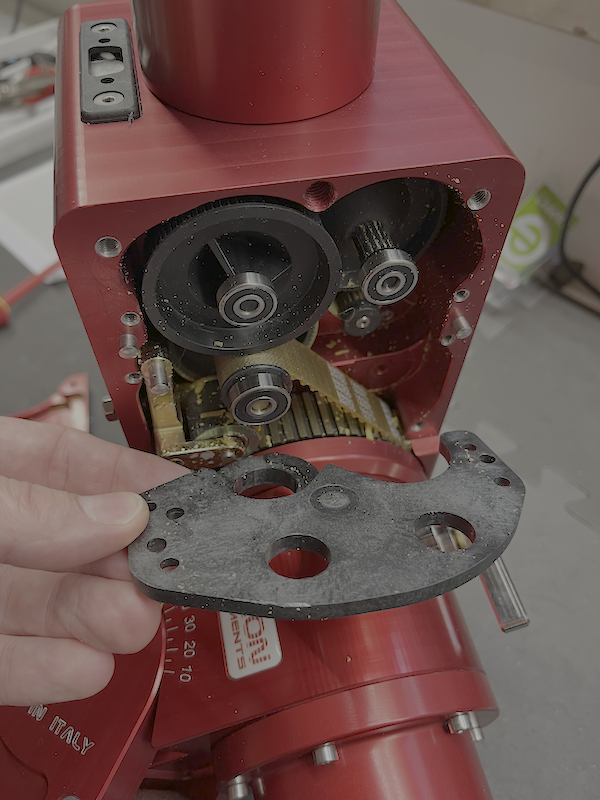
Now the timing belt pulleys are removed. They can simply be pulled out.
Two are identical; the one with the larger upper diameter belongs to the belt that goes around the axle.
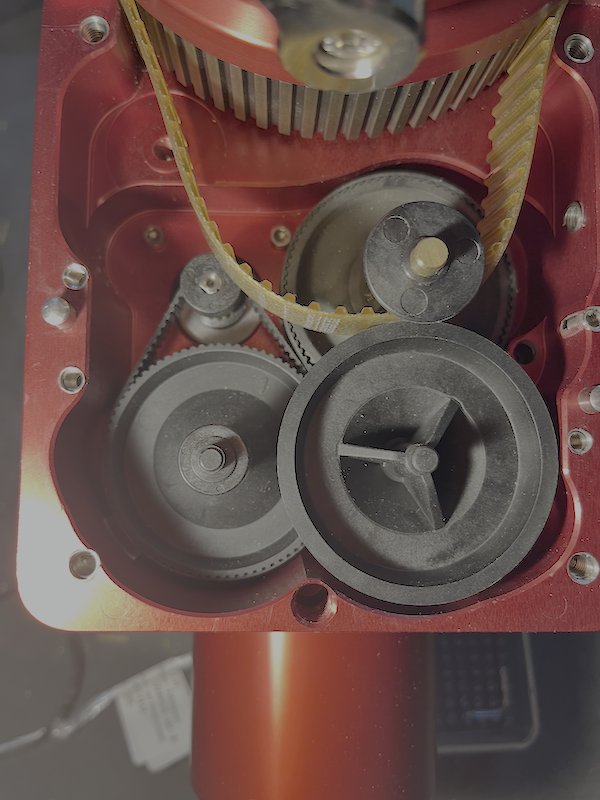
After cleaning, the reduction gears are reinstalled along with the new timing belts:
Important: the 6.35 mm wide timing belt is mounted on the motor shaft. Space is very limited, but don't worry, everything will fit together perfectly.
Now almost all the parts are back in place, including the timing belts. The upper ball bearings are still missing; these are simply pushed on. The tensioner for the axle timing belt is still missing.
The tensioner is reinstalled, but the tensioning screw is left loose for now.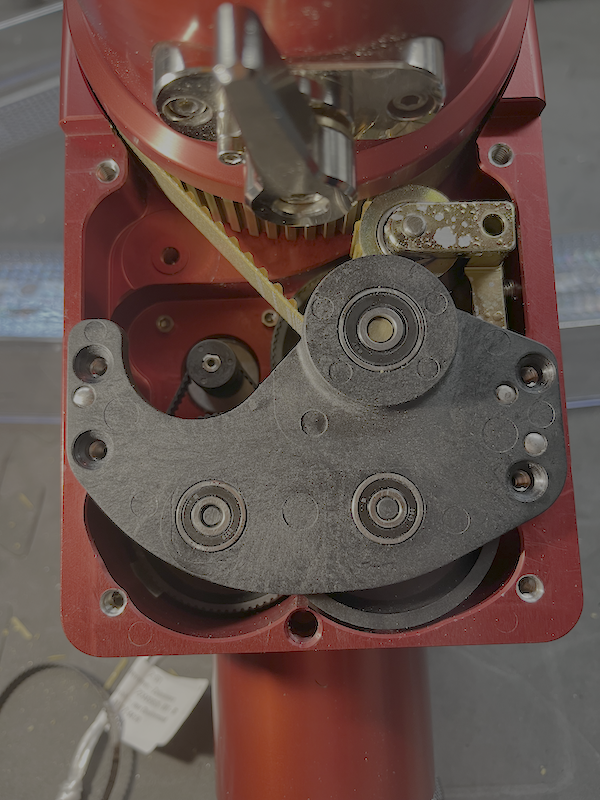
To avoid breaking your fingers: it turns out that the bearings in the picture are "threaded" into the mounting plate from left to right. The largest ball bearing goes on top last, followed by the bolt at the rear right. A photo is included in the DEC axle description, which makes this clearer.
Then screw in the tensioning screw until the timing belt can only be slightly compressed. Don't overtighten. Unfortunately, Avalon doesn't provide any instructions on this, so a bit of finesse is required.
DEC axle
This area isn't directly accessible, so a few steps need to be completed beforehand.
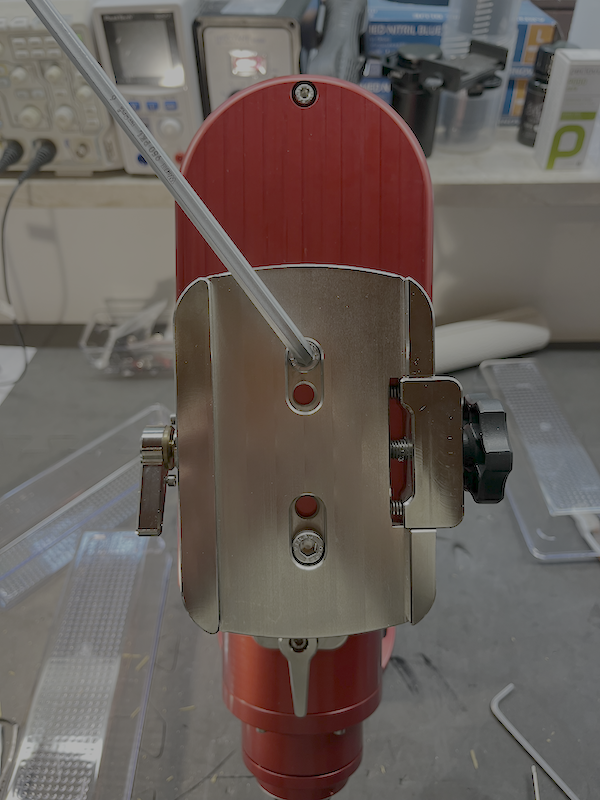
Using a 6.0 mm Allen wrench, remove the two screws that hold the seat clamp.
Now the axle clamp needs to be loosened with a 3.0 mm Allen key. Please note the position of the clamping screw, as the clamp can also be installed rotated 180°. Be careful, the actual clamping block can now simply fall out.
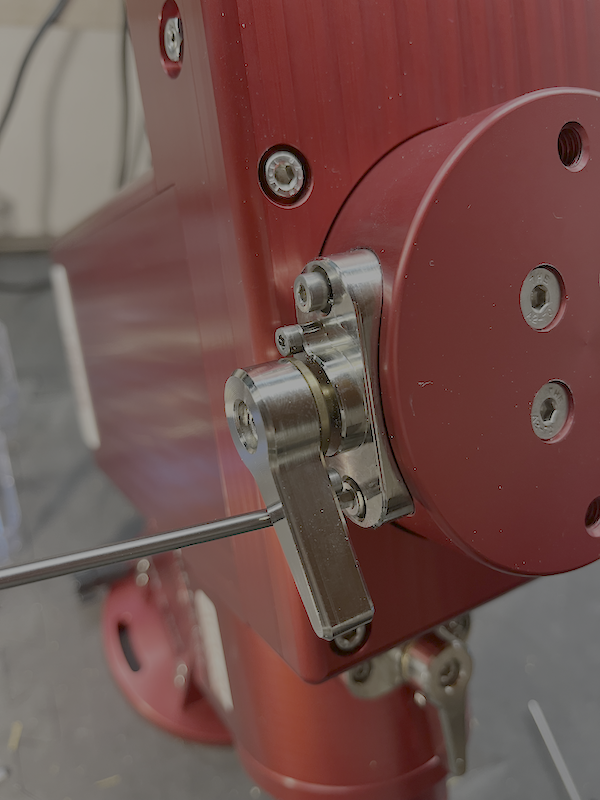
Now the cover can be removed, as the clamping screw is no longer in the way.
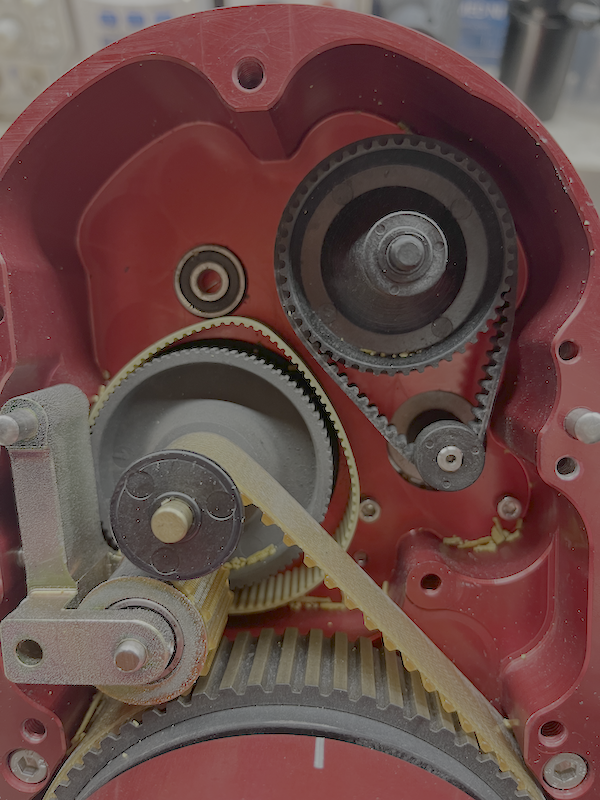
The procedure is exactly the same as for the RA axis.
It's noticeable that Avalon has used a different motor drive belt on this mount, see image.
Here's another photo showing the threading sequence: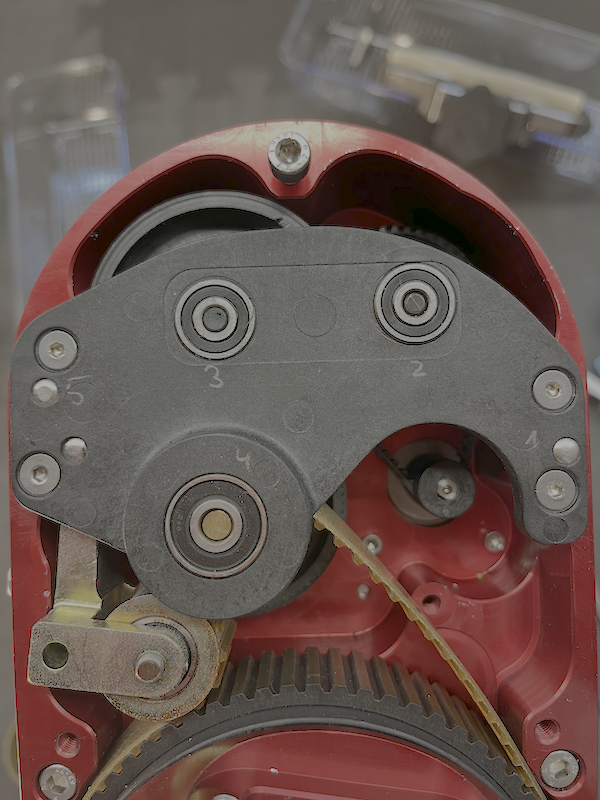
This Product was added to our catalogue on 07/03/2026.


Die Box kann unter tpl_modified/boxes/box_miscellaneous.html verändert werden. Die Sprachvariablen befinden sich in der Datei tpl_modified/lang/german/lang_german.custom.